
Seasonal Roof Maintenance Checklist for Autumn and Winter
A roof rarely fails in July. It fails at two in the morning in January, in a gale, at the exact spot that was already suspect back in October. The work that prevents that night is unglamorous: an afternoon with a ladder, a bucket, a torch and a willingness to look closely at the parts of the house nobody sees. Autumn gives you the two things you need to do it properly — dry surfaces and daylight. Work through the list below before the clocks go back. None of it is complicated, and most of it costs more in care than in cash.
Start with a survey from the ground
Before you touch a ladder, walk the perimeter of the building. You are looking for slipped or missing tiles, a gutter line that has begun to sag or pull away from the fascia, dark streaks running down render, and patches of moss that have spread noticeably since spring. Binoculars earn their keep here. So does a photograph taken on your phone, because it gives you something to compare against after the first storm.
Then go into the loft with a torch. Look for daylight coming through the roof covering — a few pinpricks in old sarking felt are normal, a clear rectangle is not — along with dark staining on rafters, damp patches on chimney breasts, and any tide marks on ceilings below.
Clear the gutters and downpipes
This is the highest-value hour you will spend on the outside of a house. A blocked gutter does not simply overflow in an obvious way; it sends water down the wall, behind the render, into the fascia and soffit, and eventually towards the foundations. In most of the UK, the bulk of the leaves are down by late November. Clear then, and check again after the worst of the winter gales.
- Scoop solids out by hand, wearing gloves, and drop them into a bucket rather than onto the flowerbed below.
- Check the fall. Water should run steadily towards the outlet; if it sits in a level stretch, a bracket has dropped and needs resetting.
- Flush the run with a hose, working from the far end downhill so you push debris towards the outlet rather than into it.
- Clear the downpipe from the bottom where possible, or use a drain rod. Check the gully or shoe at ground level, and make sure the water actually discharges into a drain or soakaway.
- Inspect the joints and brackets. A joint that drips on a calm day will spray the wall in a storm.
Fit guards, or at least trim back
Leaf guards and gutter brushes are not a cure — they still need clearing — but they slow the build-up considerably on a roof surrounded by trees. Trimming back overhanging branches does more: it also reduces the moss that grows in the shade and the debris that lands on the slates.
Check flashings, valleys and the chimney
Most leaks start where two materials meet, and the detailing there fails quietly. Look at the lead flashing where the roof meets a chimney, wall, dormer or parapet. Lead in good order should be dressed tight against the masonry; where it has lifted or split, water gets straight underneath. Cement fillets are the usual culprit on older houses — they crack, then fall away in a hard frost. If yours are crumbling, they can be raked out and renewed.
Valleys — the channels where two roof slopes meet — collect leaves and silt, and a blocked valley will back water up under the tiles long before anything looks wrong from ground level. Clear them by hand, gently.
On the chimney itself, check that the pots are secure and that the mortar flaunching around them has not perished. If you have an open flue serving a gas appliance, never block it and never treat it as a DIY job; a blocked or damaged flue is a safety matter, so have it inspected by a suitably registered engineer.
Deal with moss, algae and lichen
Moss holds water against the roof surface, and when that water freezes it expands, prising apart tiles and mortar. The aim is to remove it without damaging what is underneath.
- Scrape lightly. Use a soft brush or plastic scraper. Never attack the roof with a spade or wire brush — the surface of a clay tile or slate is softer than it looks.
- Never pressure-wash a slate, tile or felt roof. It strips the surface, forces water under the laps, and can dislodge the covering itself.
- Treat with a suitable moss treatment on a dry, calm day when no rain is forecast for a day or two. Read the label, protect plants, pets and paving below, and let the product do the work rather than scrubbing at it.
- Brush off the dead growth a few weeks later, once it has dried and loosened.
Worth knowing: moss is a symptom of shade and moisture more than of a bad roof. Cut back the trees, and the problem stops returning quite so quickly.
Tiles, slates and ridge tiles: the small repairs
Summer heat and autumn wind loosen things. Look for slipped, cracked or missing units, and for concrete tiles that have begun to flake on the surface — a sign that water is getting in and frost damage is likely. Ridge and hip tiles are bedded in mortar, and mortar at the top of a roof takes the worst of the weather; if it has crumbled and the tiles are rocking, that needs re-bedding properly, not a smear of sealant. A loose ridge tile in a February gale becomes a projectile.
Prepare for storms and hard frost
Broadly, UK roofs cope with snow. What they do not cope with is meltwater that has nowhere to go because an outlet is blocked, or wind getting under a covering that was already lifting.
- Clear flat-roof outlets and gullies, and sweep standing water off where it pools.
- Check that loft insulation is not pushed hard into the eaves, blocking the ventilation gap. Warm, damp air trapped in a cold loft condenses on the underside of the covering, and that is what causes damp staining and roof-timber problems over time.
- Secure anything loose up there — aerials, satellite dishes, roof vents, and the lids of cold-water tanks.
- After every storm, do a quick check from ground level for missing slates or a newly sagging gutter, and keep the number of an emergency roofer to hand rather than searching for one at midnight.
A workable autumn-to-winter schedule
If you would rather not do it all at once, spread it out. Mid-autumn: clear gutters, valleys and flat-roof outlets, and cut back overhanging branches. Late autumn: inspect flashings, ridge tiles and the chimney, and make a list of anything that needs a professional. First frost: check the loft for damp and confirm the eaves vents are clear. Through winter: a two-minute ground-level look after each gale. Late winter or early spring: book repairs while roofers are quieter and the weather is kinder to mortar.
One practical caution. Working at height is the riskiest part of all this. Only go up in dry, still conditions, on a level surface, with the ladder footed properly and a stand-off bracket so it does not rest on the gutter. If your roof is steep, high, fragile, or you simply are not comfortable up there, a professional inspection costs far less than a hospital visit or a replaced ceiling.
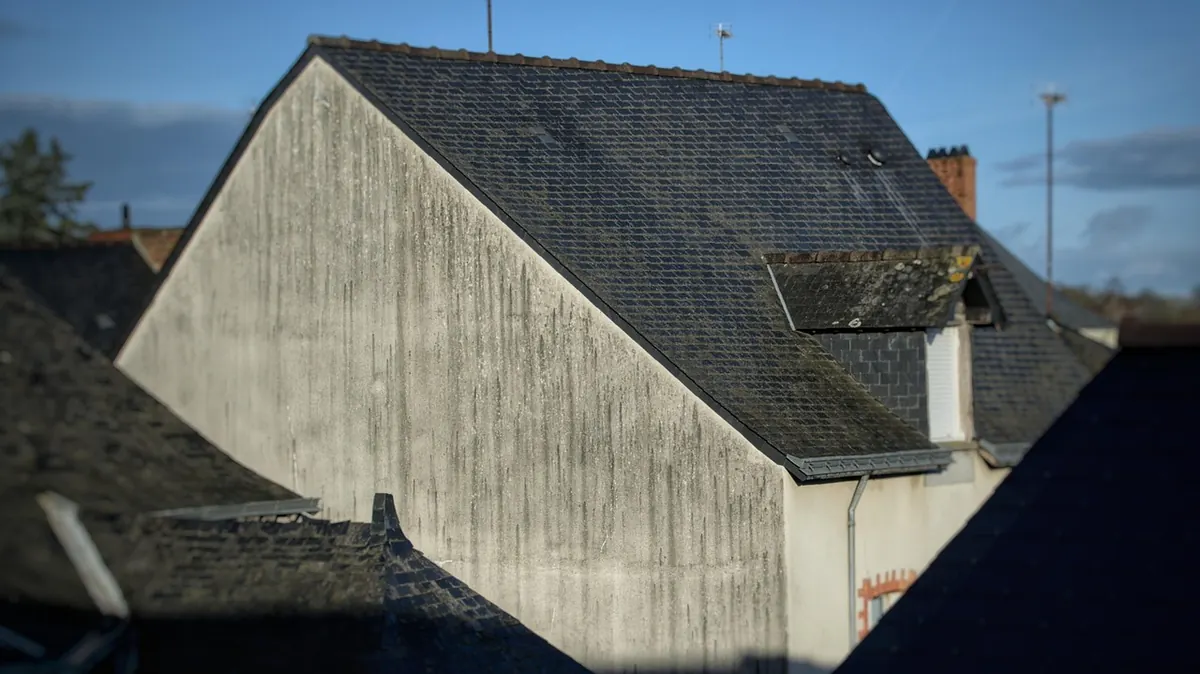
Photo: Myriams-Fotos / Pixabay

You Might Also Like
Size, height, position and use limits decide whether a garden room needs planning permission. Here's how permitted development works, and where it stops applying.
Internal or external? A practical comparison of retrofitting solid brick walls — cost, thickness, breathability, disruption and the planning constraints that decide which route is possible.