How to Retrofit a Solid Brick Wall: Internal vs External Insulation Compared
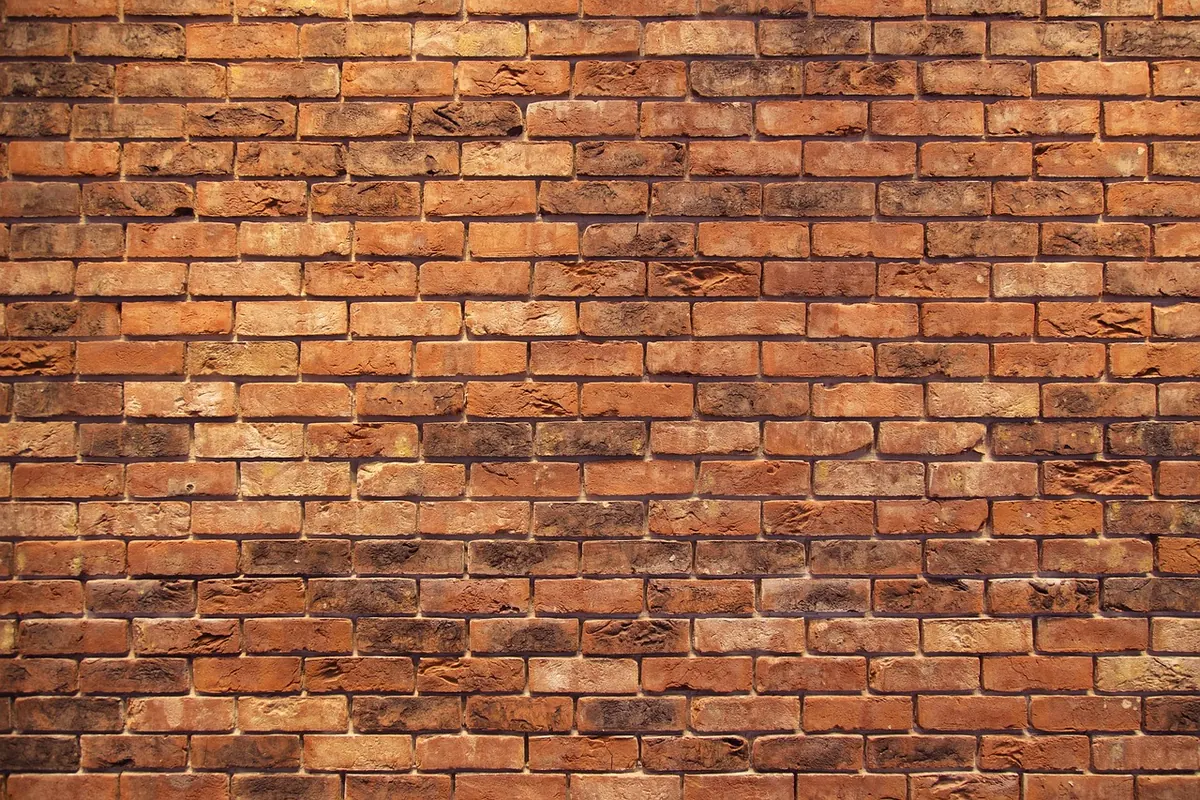
Solid brick walls are honest things: nine inches of brick, no cavity, no insulation, and mortar that has quietly held on for a century or more. They shed rain perfectly well when the pointing is sound, and they lose heat at a rate that makes modern walls look smug. In a Victorian terrace or an interwar semi, the walls are usually the last big thermal upgrade left — and the one with the most ways to go wrong.
There are two routes: line the inside, or wrap the outside. They cost different amounts, take up different things and suit different houses.
Start with what solid brick actually does
There is no cavity to fill, so insulation has to go on one face or the other. More importantly, solid brick is a moisture-active wall: it absorbs driven rain, releases moisture inward, and relies on being able to dry. Anything you add must be either vapour-open, or detailed as a sealed system with a reliable vapour control layer. Mixing the two ends badly.
Uninsulated solid brickwork typically sits at around 2 W/m²K, several times worse than a wall built to current standards. Before spending anything on insulation, fix the water: overflowing gutters, cracked render, failed downpipes, soil piled above the damp-proof course. Insulating a wet wall just hides the problem behind a warm surface, where rot and frost damage do their best work.
Internal insulation: the practical default
Lining the inside is usually cheaper, rarely needs consent outside a listed building, and can be done one room at a time. The trade-off is space, and disruption.
Build-ups that work
- Breathable: wood fibre or cork on a lime or clay base, finished with lime plaster. Vapour-open and forgiving on a damp-prone wall, though thicker for the same gain.
- Thin and vapour-tight: PIR boards bonded to plasterboard. Around 50–75mm makes a real difference with little lost floor area, but every joint, edge and penetration must be taped into a continuous vapour control layer.
- Stud and mineral wool: cheapest materials, deepest build-up. Batten, fill, cross-batten to cut cold bridging, then board over. Expect to lose 100mm or more.
Details that catch people out
- Reveals get deeper and colder; insulate them or you create a ring of condensation around every window.
- Sockets and switches move forward, and cables buried in insulation may need derating.
- Timber joists built into the wall sit colder, raising the risk of rot at the ends. Same for the wall plate at eaves level.
- Bathrooms and kitchens are awkward, and an insulated, draught-sealed room needs deliberate ventilation.
External insulation: the bigger, cleaner answer
External wall insulation fixes boards to the outside of the brickwork and covers them with render or cladding. Nothing is lost inside, the whole wall is wrapped — including junctions that internal work always struggles with — and the brickwork gets a raincoat.
Allow 100mm or more for a solid wall, plus the finish, so the building grows by roughly 100–150mm. On a terrace that matters at a boundary. Eaves overhangs need extending, sills widening, rainwater goods moving out, and the base kept clear of ground level so the damp-proof course is not bridged; below the DPC, use closed-cell boards. Mineral wool or wood fibre with a lime render stays vapour-open. Polystyrene with a cement render is cheaper and more common, but far less able to let the wall breathe.
Cost, thickness and disruption, side by side
- Upfront cost: external work costs substantially more per square metre — scaffolding, beads, render and skilled labour. Internal work is mostly boarding, plastering and decorating, and can be spread over several years.
- Space: internal insulation costs 60–120mm of every external room. External adds a similar amount on the outside, which usually costs nothing in usable space but needs checking at boundaries and eaves.
- Disruption: internal means emptying rooms, moving radiators and re-plastering. External means scaffolding up for weeks while your rooms stay usable.
- Longevity: external finishes need cleaning and periodic recoating, and leaks behind the system are hard to spot early. Internal finishes are simpler to repair.
- Side effects: external work improves weather tightness and protects the brick. Internal work does neither, leaving the outside of the wall as exposed as before.
Breathability is where most retrofits fail
Solid brick dries mainly inward, which is why sealing the inside with foil-faced board and polythene is riskier here than in a modern cavity wall. Trap moisture and it condenses where you cannot see it: behind the boards, inside the brick, in the ends of the joists. What follows is spalling brick, damp patches, musty smells and expensive repairs.
Two approaches are defensible. Either use vapour-open materials finished with lime plaster and breathable paint, or accept a sealed, vapour-tight build-up and execute it meticulously: continuous membrane, taped joints, sealed penetrations, designed-in ventilation. What fails is a breathable wall behind a vapour-tight finish, or a vapour-tight wall with an unsealed membrane. Vapour-adaptive membranes, sometimes called smart vapour control layers, offer a middle path — closed in winter, open in summer.
Fix the water before you fix the heat. A dry wall insulates far better than a wet one.
Planning, conservation and permissions
External insulation changes how a building looks, so it attracts attention. On a listed building, expect to need listed building consent, and internal work can need it too where it alters historic fabric. In conservation areas and wherever an Article 4 direction applies, permitted development rights for cladding and rendering are restricted or removed, so assume planning permission is needed. Rules differ in Scotland, Wales and Northern Ireland.
Leasehold flats need the freeholder's agreement, and terraces raise party wall questions. Building regulations apply whenever you renovate a thermal element, typically once you are working on more than a quarter of a wall, and a compliant U-value is expected. Check with your local planning authority and building control before ordering anything, and take professional advice on damp, structural and listed building matters.
Making the call
Work in order: loft, draught-proofing, floors, then walls. When you reach the walls, let the house and the paperwork decide.
External suits plain elevations, generous roof overhangs, space at the boundaries and no conservation restrictions — especially if scaffolding is going up anyway for a re-render or roof work. Internal suits flats, listed buildings, tighter budgets and anyone fixing one or two cold rooms without touching the outside.
A hybrid is often the sensible answer: external on the gable and rear, internal linings at the front. Insulate one room or wall first, watch it over a winter, and check the junctions with a moisture meter before committing to the whole house.
Photo: Michael_Laut / Pixabay
You Might Also Like
Size, height, position and use limits decide whether a garden room needs planning permission. Here's how permitted development works, and where it stops applying.
Sensitive, practical ways to sharpen the front of a 1930s semi — from the front door and windows to pointing, rooflines and planting — without stripping out the details that give it character.